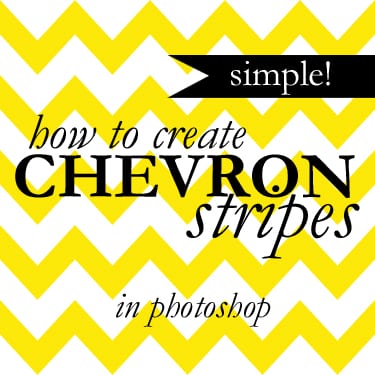
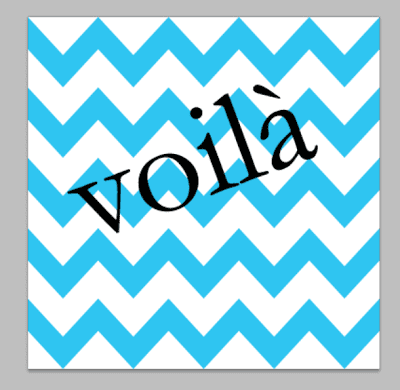
Chevron stripes are so cute. I really love them. Recently, I’ve been using them in the backgrounds of the images for College Prep posts. A while ago, there was a tutorial on how to make chevron striped walls in a bedroom. My goodness, the process looked super complicated.
I assumed, wrongly, that it would be complicated to make in Photoshop. In fact, it’s pretty simple. I think it requires basic skills in the software. (If you know how to make shapes, transform shapes, create new layers, duplicate layers, and merge layers you’re good to go!)
First things first. Open up a new document. I made mine 375px by 375px at 300dpi (but you can work with whatever size you want). The one thing that makes this super super super easy is to turn on the grid function.
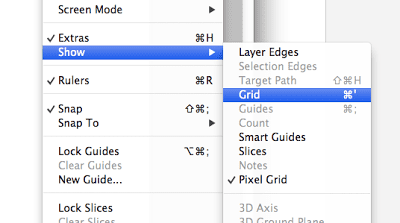
View > Show > Grid
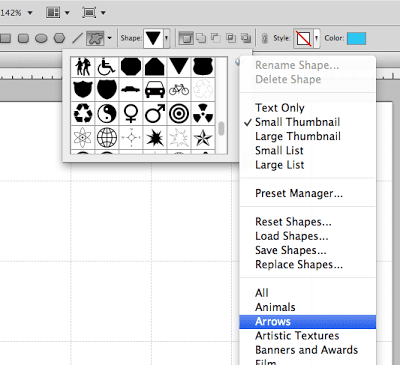
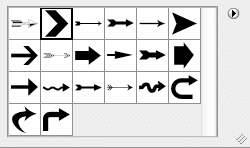
Here’s the secret trip: Using Arrow #2 over and over again makes the perfect chevron stripe!
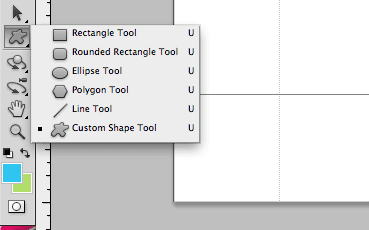
Custom Shape Tool
Under Arrow section, click on Arrow #2. (It’s the second one in the first row.)
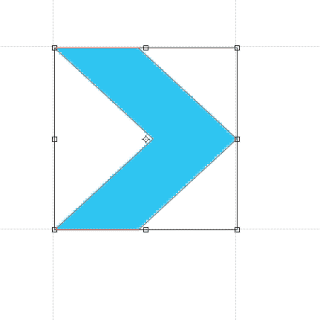
Draw the shape in one of the grid boxes. I like to zoom in super far so that I can make sure it’s all lined up properly.
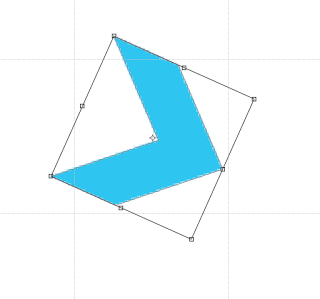
Rotate the shape 90º. I click Command + T and then start the rotation. But I go to the top of the toolbar and just type in 90 so that it’s precise.
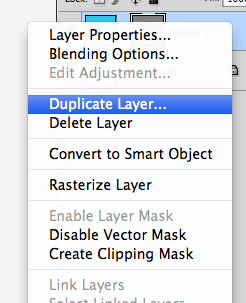
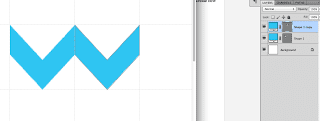
And the duplication process begins. Duplicate that original shape and then move it to the next square. (See how helpful the grid becomes?)
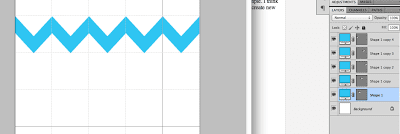
Repeat, repeat, repeat.
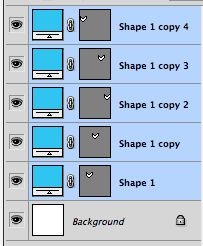
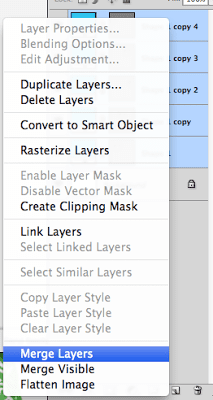
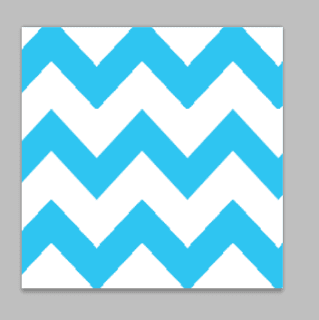
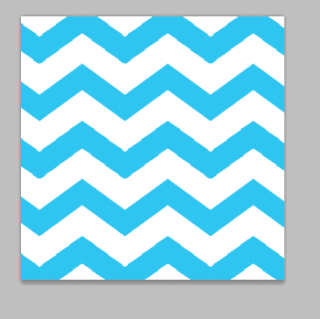
Then you merge the layers together, which makes it easier to continue duplicating.
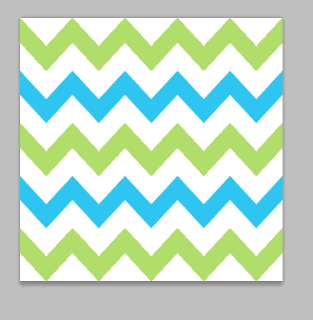
You can play around with the layers to create different looks… basically have fun, fun, fun with it!!!
xoxo






I haven't had much reason to use Photoshop yet, but if I ever need to learn posts like these will really come in handy. Thanks, Carly!
This is s neat! I'm loving yellow chevron right now Elizabeth McKay has this yellow chevron dress that I'd love to own!
I don't know how to get the layer called Shape. When I go to select the arrow and do those steps, it just does it on the background layer. When I try to make a second arrow and rotate it, it automatically selects the previous arrow that I made. So, it won't let me rotate it. I mean, it does. It just selects everything that I've done. After I create a new document, do I have to create another layer, because I didn't see where that step was, if that's what it is?
Looks good! That's awesome 🙂
A great tutorial! So helpful!
WOW!!! I have tried so many times to make a chevron template for myself, and it's never worked–this is sooo handy!! Thanks!
I was actually wondering how people did this the other day! Thanks for the tutorial!
Wow! That's way easier than I thought it would be. I want to go make a new background now.
Aw this is such a smart way of doing it!!! thanks for sharing hun!! 🙂
On http://www.colourlovers.com/ there are a lot of patterns one can use for free in photoshop ect for the backgrounds!
Love K
Thank youu for the tutorial!! This is great 🙂
I always wondered how to do this and now I know how! Thank you for sharing!! (:
That's so cool! I usually just do things like this in Pages on a Mac and layer images and stuff and then take a snapshot of what I created, but that's a good idea too!
Follow my blog!
Significantlystyled.blogspot.com
Thanks for sharing!! I love a good Photoshop tutorial… keep em coming 🙂
I've actually tried to make Chevron stripes in Photoshop…and I made it WAY more complicated. Thanks so much for the simple tutorial!
Thanks, this is awesome!
Thank you so much for having this tutorial on the web! I have spent several hours trying to "draw" a chevron design – with pitiful results I might add! I found your tutorial, designed my page and was finished in less than 30 minutes! You just saved me a full day of "working" on this project!
Thanks I have been trying to get the perfect chevron everywhere!!
CEI is an online based clipping path and image masking service provider that provides high quality photoshop clipping path service at affordable rate.
Photoshop is my favorite one I like clipping path
excelent tutorial, very helpful
Nice tutorial for adobe photoshop. I will implement your tips and make something like this. In this article, you explained steps by steps very easily. I hope everyone will make something like yours. keep up the good work.
Awesome post ever.