
When I picked needlepointing up this summer, I didn’t quite expect that I would fall down the rabbit hole. But here we are… I’m kind of addicted. Once I started with needlepoint, I found myself looking up all kinds of needlework accounts on Instagram. One of the accounts I started obsessing over was Hibiscus Linens. I actually found Mariana’s work after seeing her hand-embroidered dish towels in a magazine. My friend Maddie and I started deep-diving and falling more and more in love with everything she does.
Fast forward to this fall, and Mariana asked if I wanted to co-host a class with her. It was an EASY yes!! I was so excited to meet her and learn from her! I used to be super into embroidery in elementary and middle school. My mom taught me and I would stitch, stitch, stitch during my sister’s neverending soccer and softball practices.
During the class, Mariana walked us through the basics of embroidery, teaching us the stem and the satin stitches to create personalized bookmarks. Mariana learned as a child and is very open about wanting to teach the art to everyone who wants to learn. (This is so refreshing because I’ve definitely noticed a major issue of “gatekeeping” in the needlework community– there’s room for everyone.)
I was surprised at how quickly it came back to me. To be honest, with so much of my life happening with a screen a few inches from my face, I love that all this needlework forces me to focus on something other than a screen. And I end up with a physical finished project. It’s so, so satisfying.
Needless to say, I was kind of hooked and immediately started thinking of all the projects I could do in time for Christmas gifts. The first that came to mind was cocktail napkins. These are ALL THE RAGE. Most are done with machines and have fun, quirky phrases. I have a handful of sets and really love them– they’re fun gifts and I always feel so fancy (and oddly grown-up) when I put them out for parties. But I loved the idea of being able to stitch my own. Especially for friends and family, I could customize and personalize them exactly how I wanted. The sky is the limit!!
I set out to create a holiday set for a friend. I am going to be trying to get as many as I can done to give to friends and family. I like the idea of gifting them in sets of four. While I could buy a set or give some of the blank ones to my friend to whip up on her embroidery machine, I really like how handmade these look. They’re made with love!

After I posted my first one to Instagram, I got inundated with questions. I’m no expert but between Mariana’s guidance and my affinity for learning via Youtube, I’m going to share what I know. Obviously, with lots of things in the crafting world (and well, life), there are going to be a ton of paths to get from Point A to Point B. But here’s how I did these!
WHAT YOU NEED
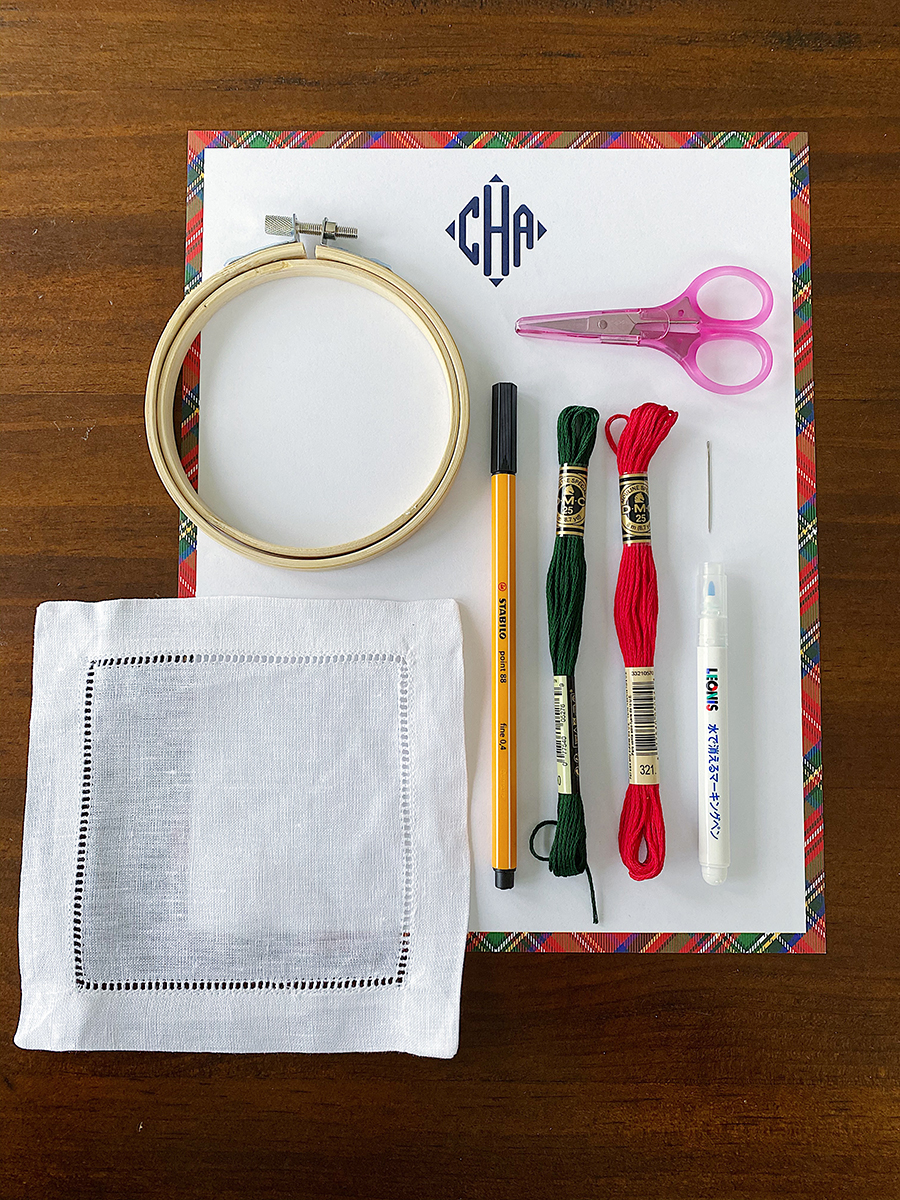
– Blank linen cocktail napkins (50 for $60!!)
– Scissors
– Needle
– Pen
– Paper
– Starch
– Iron
BASIC STITCHES
As you can imagine, the hardest part is going to be mastering the stitches. If you’re not already familiar with embroidery, I can’t recommend Youtube enough. There are TONS of stitches that you can implement to create insanely beautiful designs. For these though, I stuck primarily to the stem stitch, the satin stitch, and French knots.
These are the videos I recommend as a starting point!
PLANNING THE DESIGNS
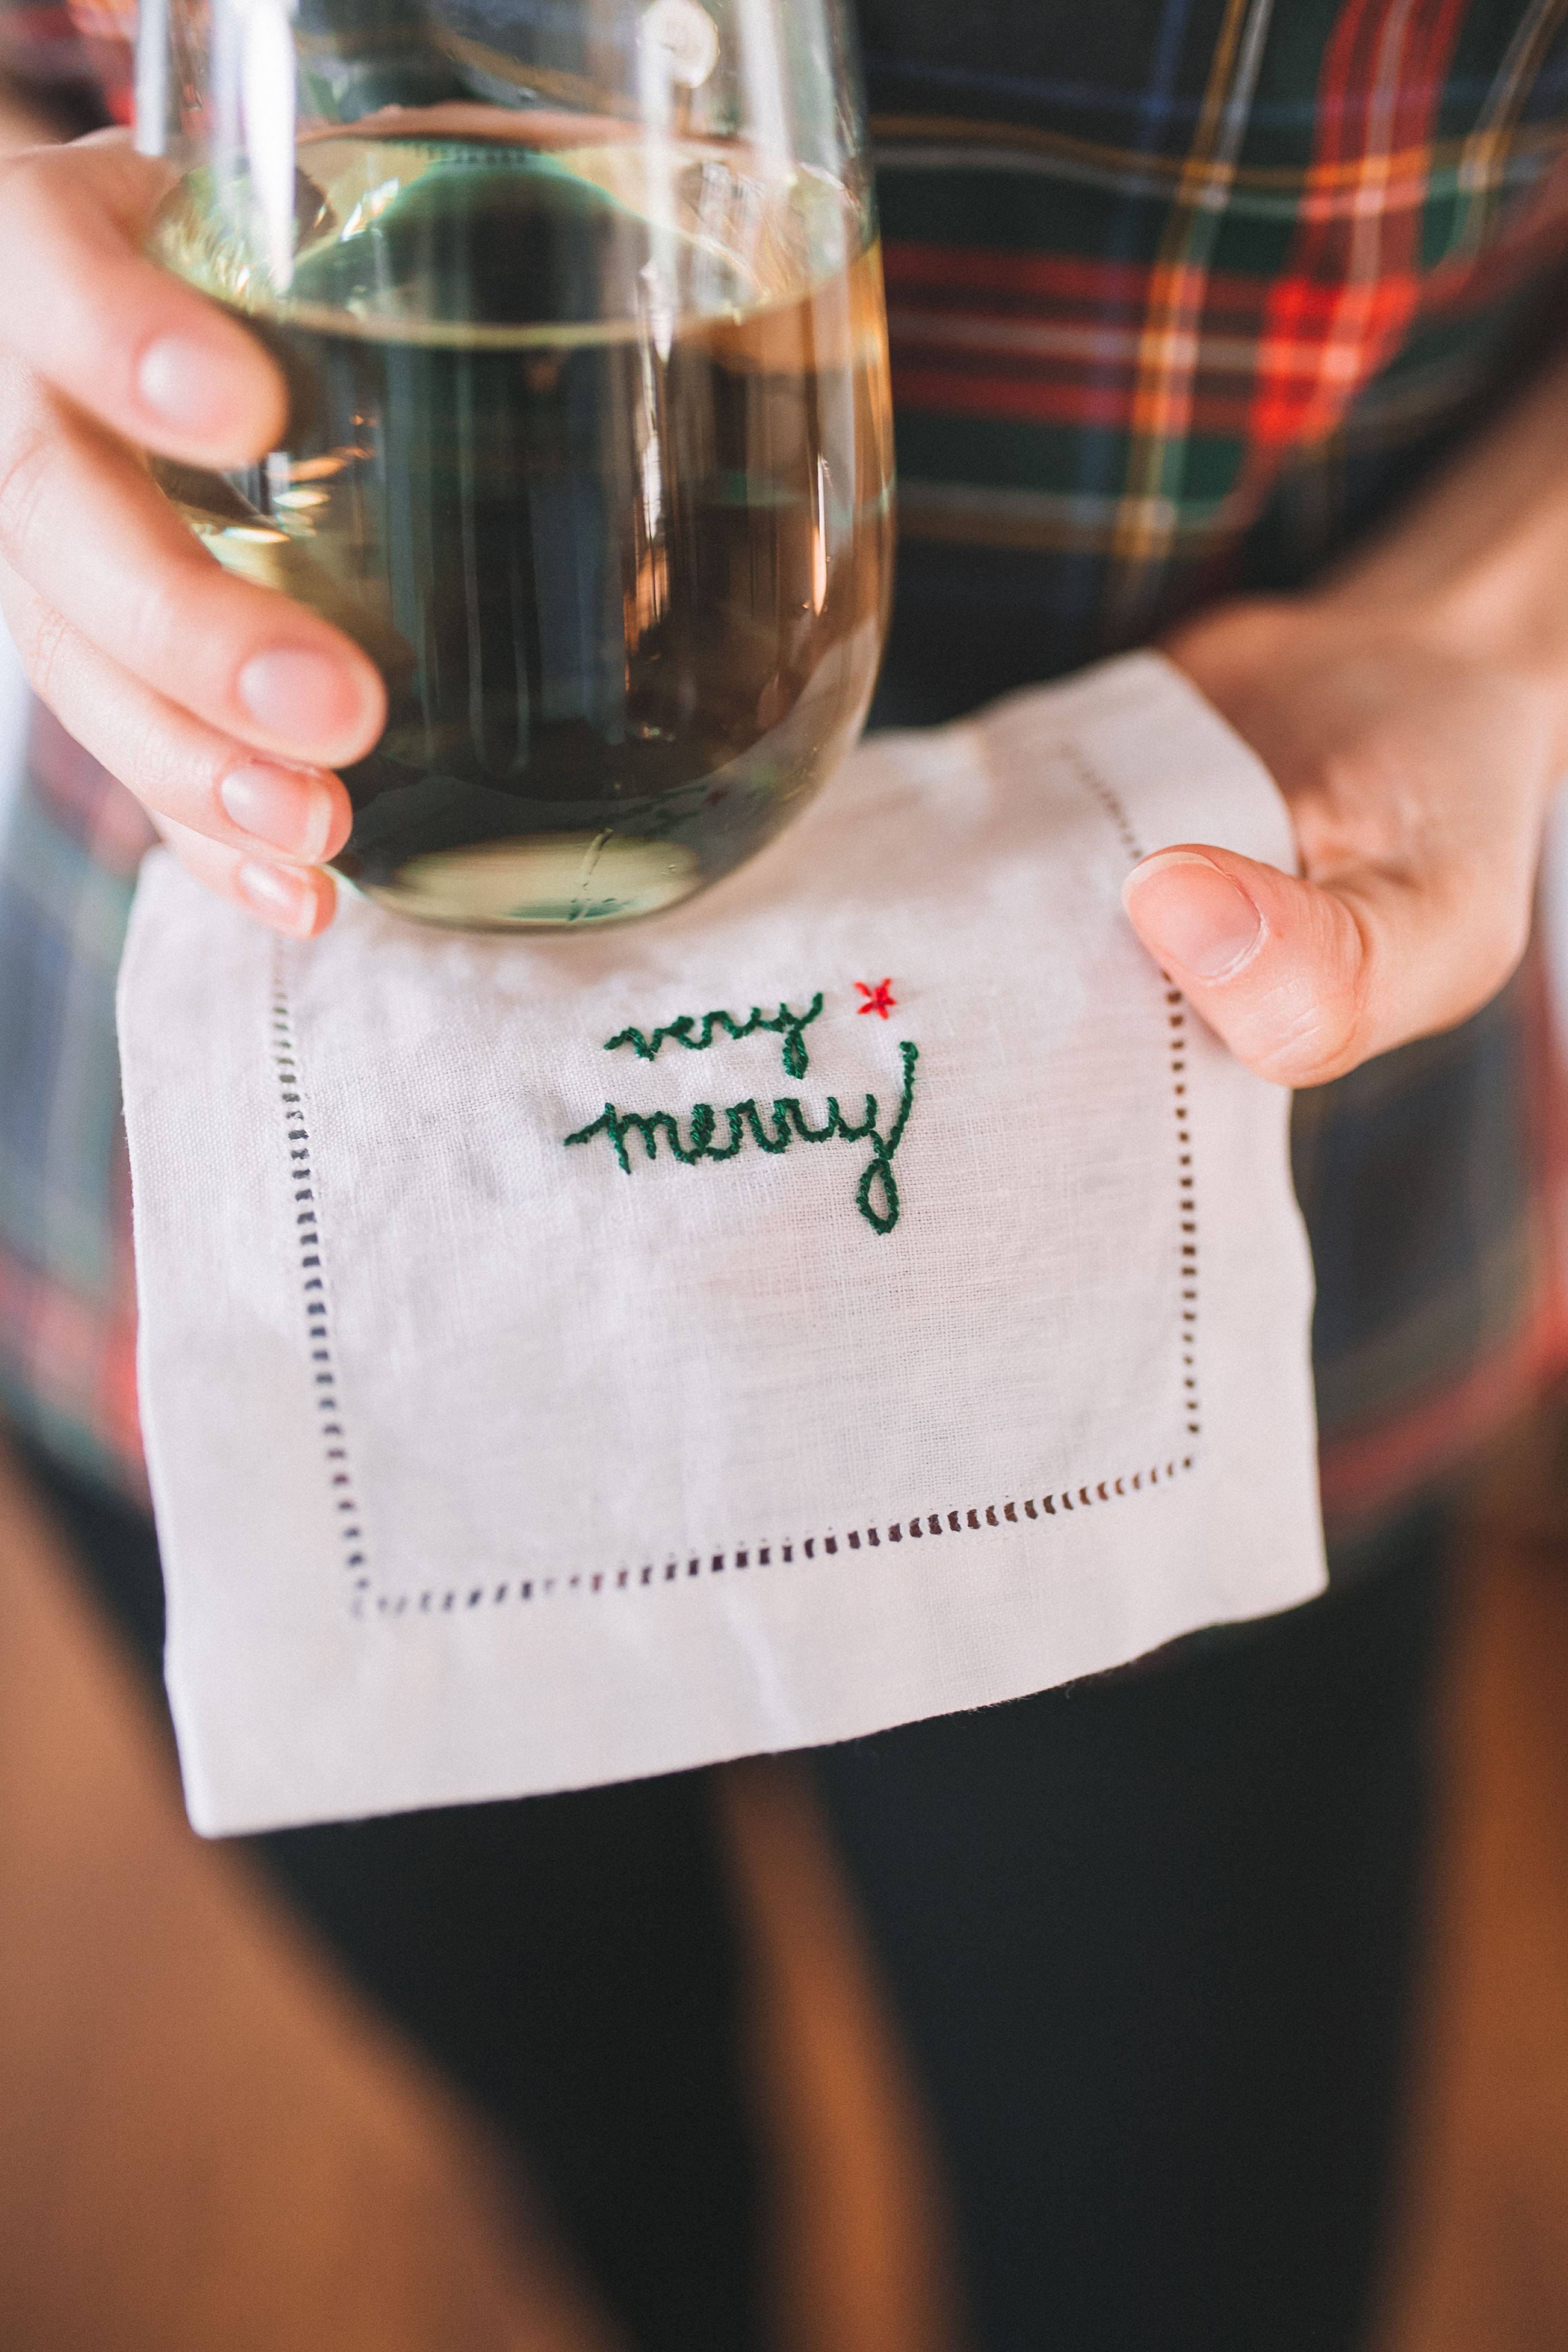
The fun part is figuring out what you want to do for the designs. Because you’re doing them by hand, I think it makes the most sense to do four separate designs just so you don’t have to worry about them looking exactly the same. For this set I did, I did one personalized/bolder pattern (the wreath), two scripted patterns (one red, one green) and another bolder design. I like that the colors all coordinate. They’re unique but clearly belong together. If you’re lacking ideas, scroll through Pinterest (try searching “hand embroidery Christmas”) for inspiration!
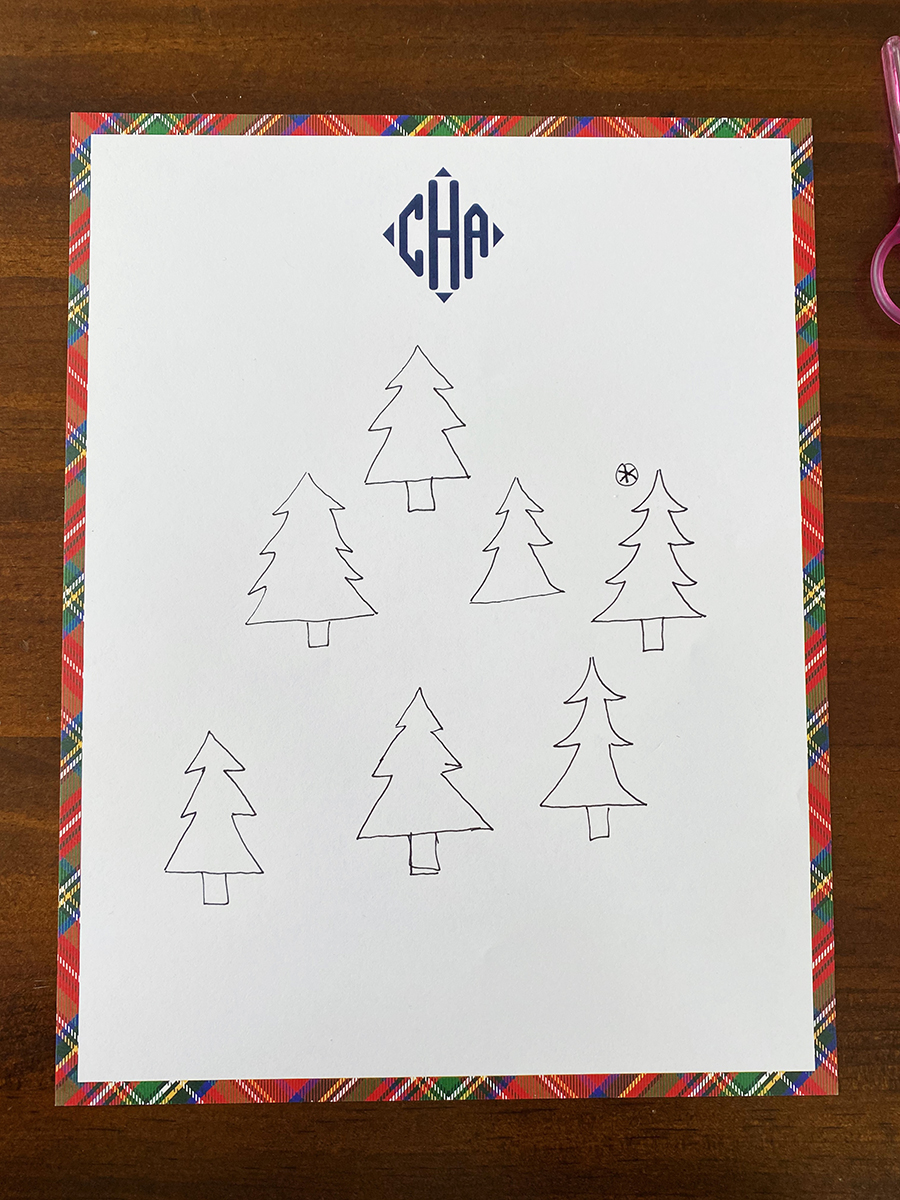
I wanted these to look like I had done them myself so I drew the designs myself on a piece of paper. There are a couple of ways you can cheat though and I won’t tell. You could pull up a design on your computer and use the light as a lightbox to trace from. You could print out a design (including a font) to trace from. Or you could use a Cricut + a water-soluble pen attachment to draw a design directly onto the linen.
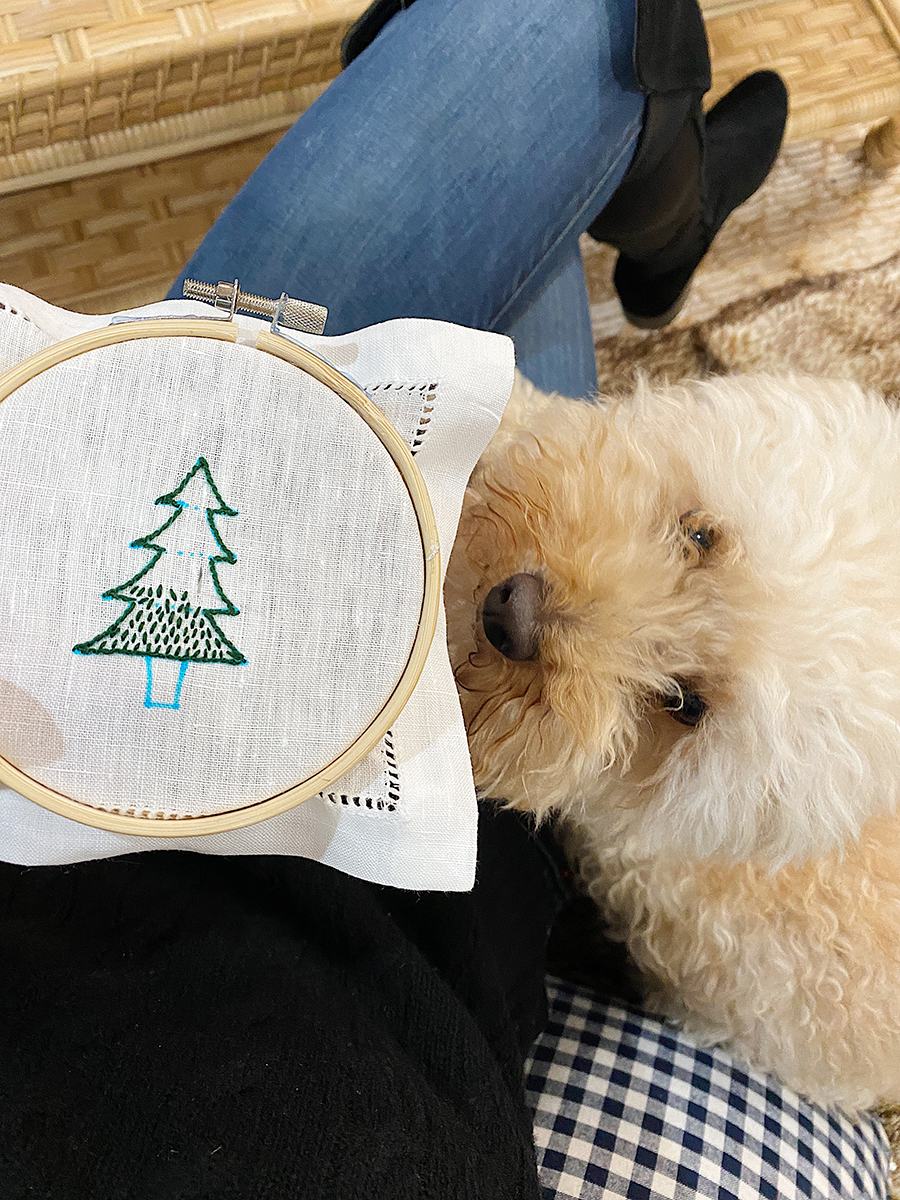
Below you can see the little trees I was drawing until I found the one I liked the most!
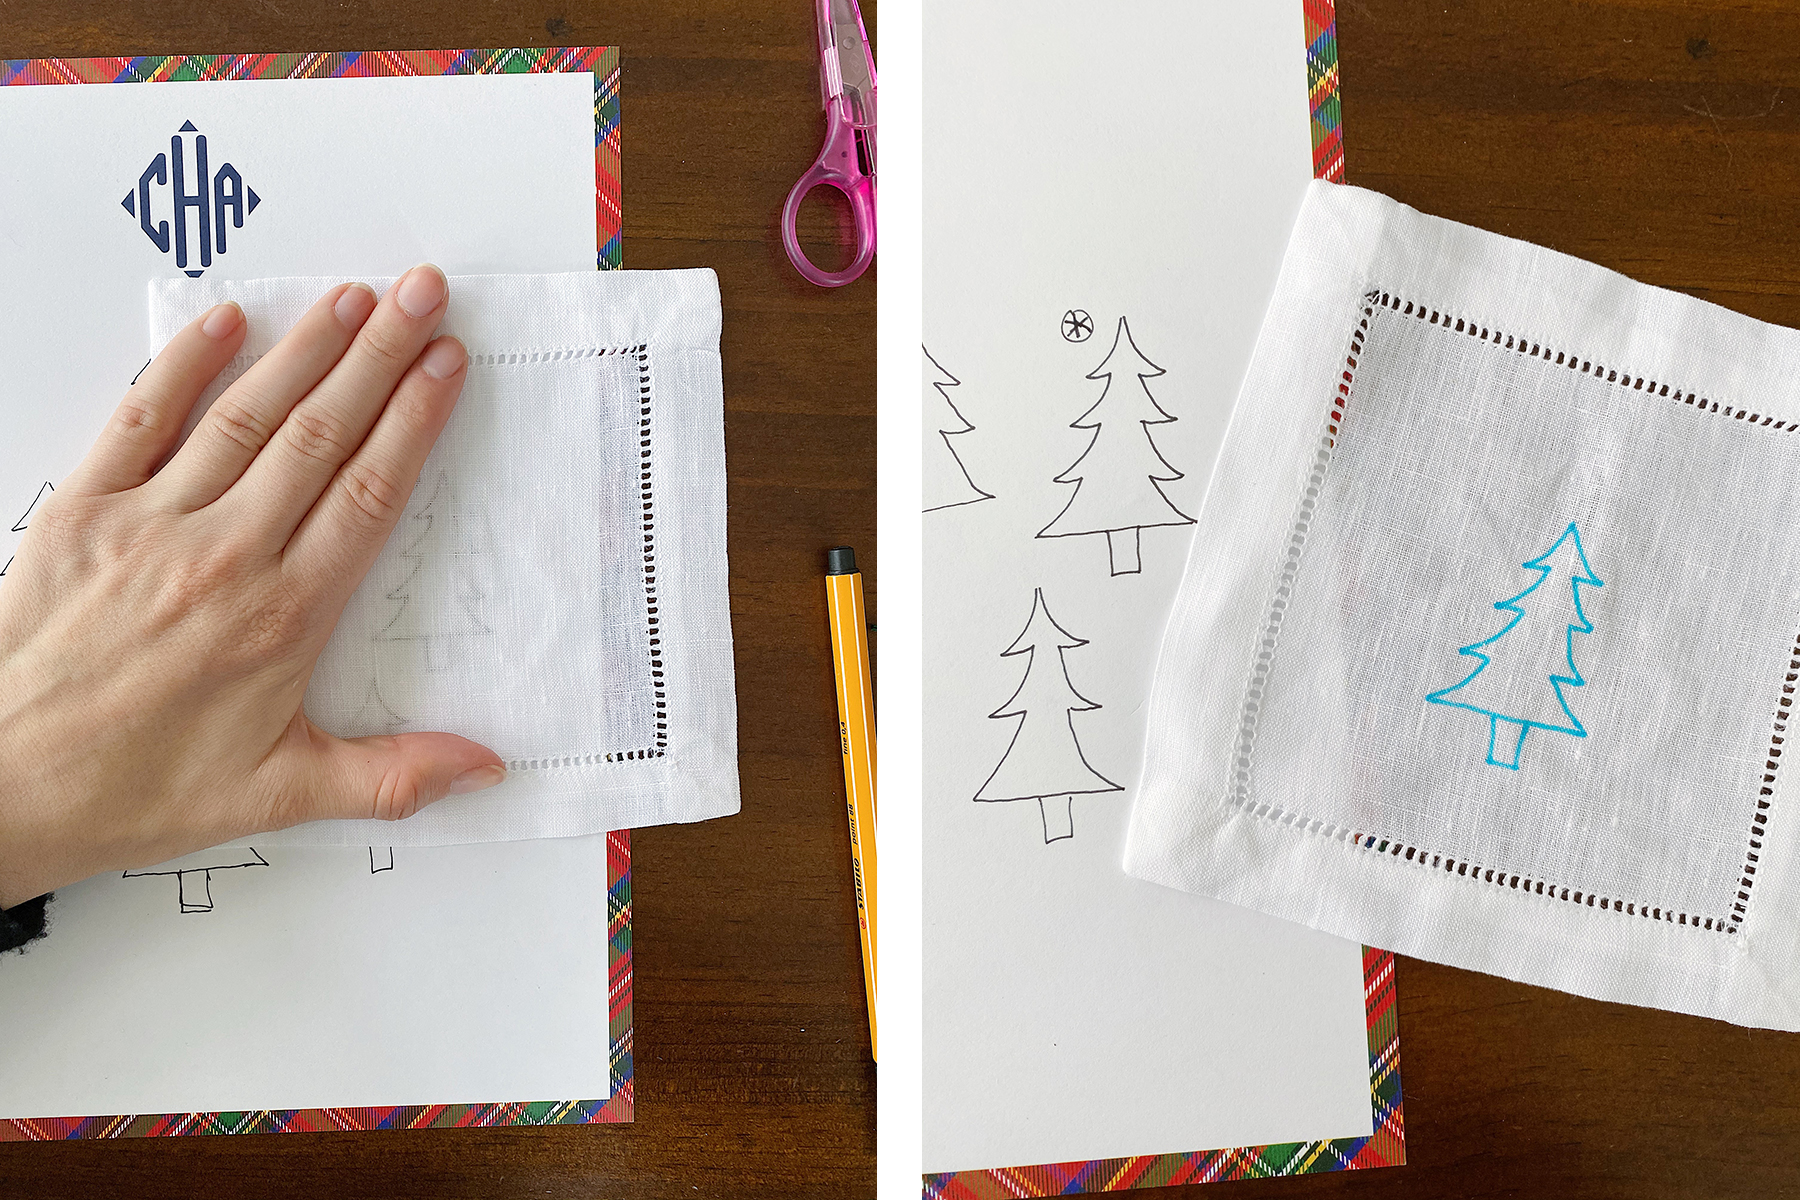
TRACE THE DESIGN WITH A WATER SOLUBLE MARKER
Below, you can see how I put the linen directly over the paper to trace the tree. Since the linen is not opaque, it’s super easy to draw right over this. Make a mistake? No worries, the pen erases with water!
TIME TO STITCH
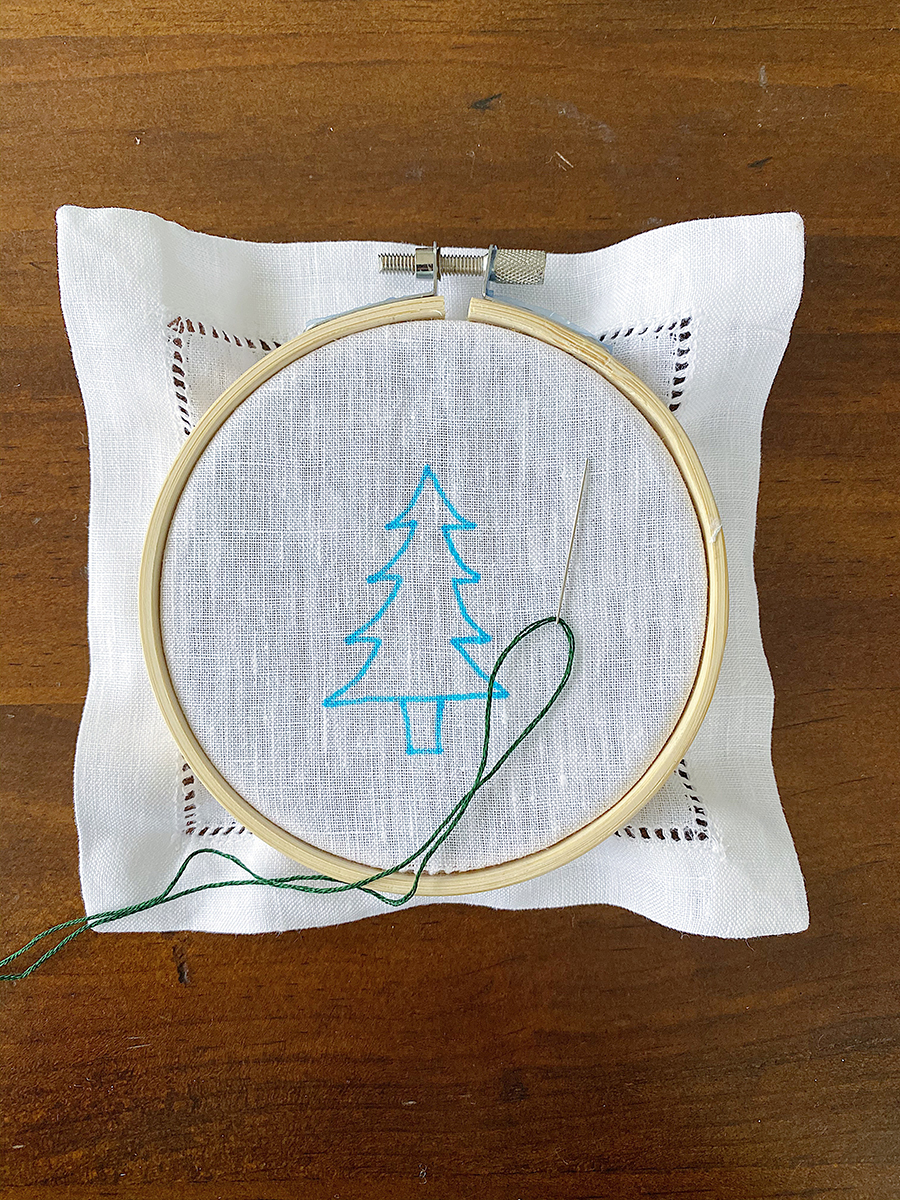
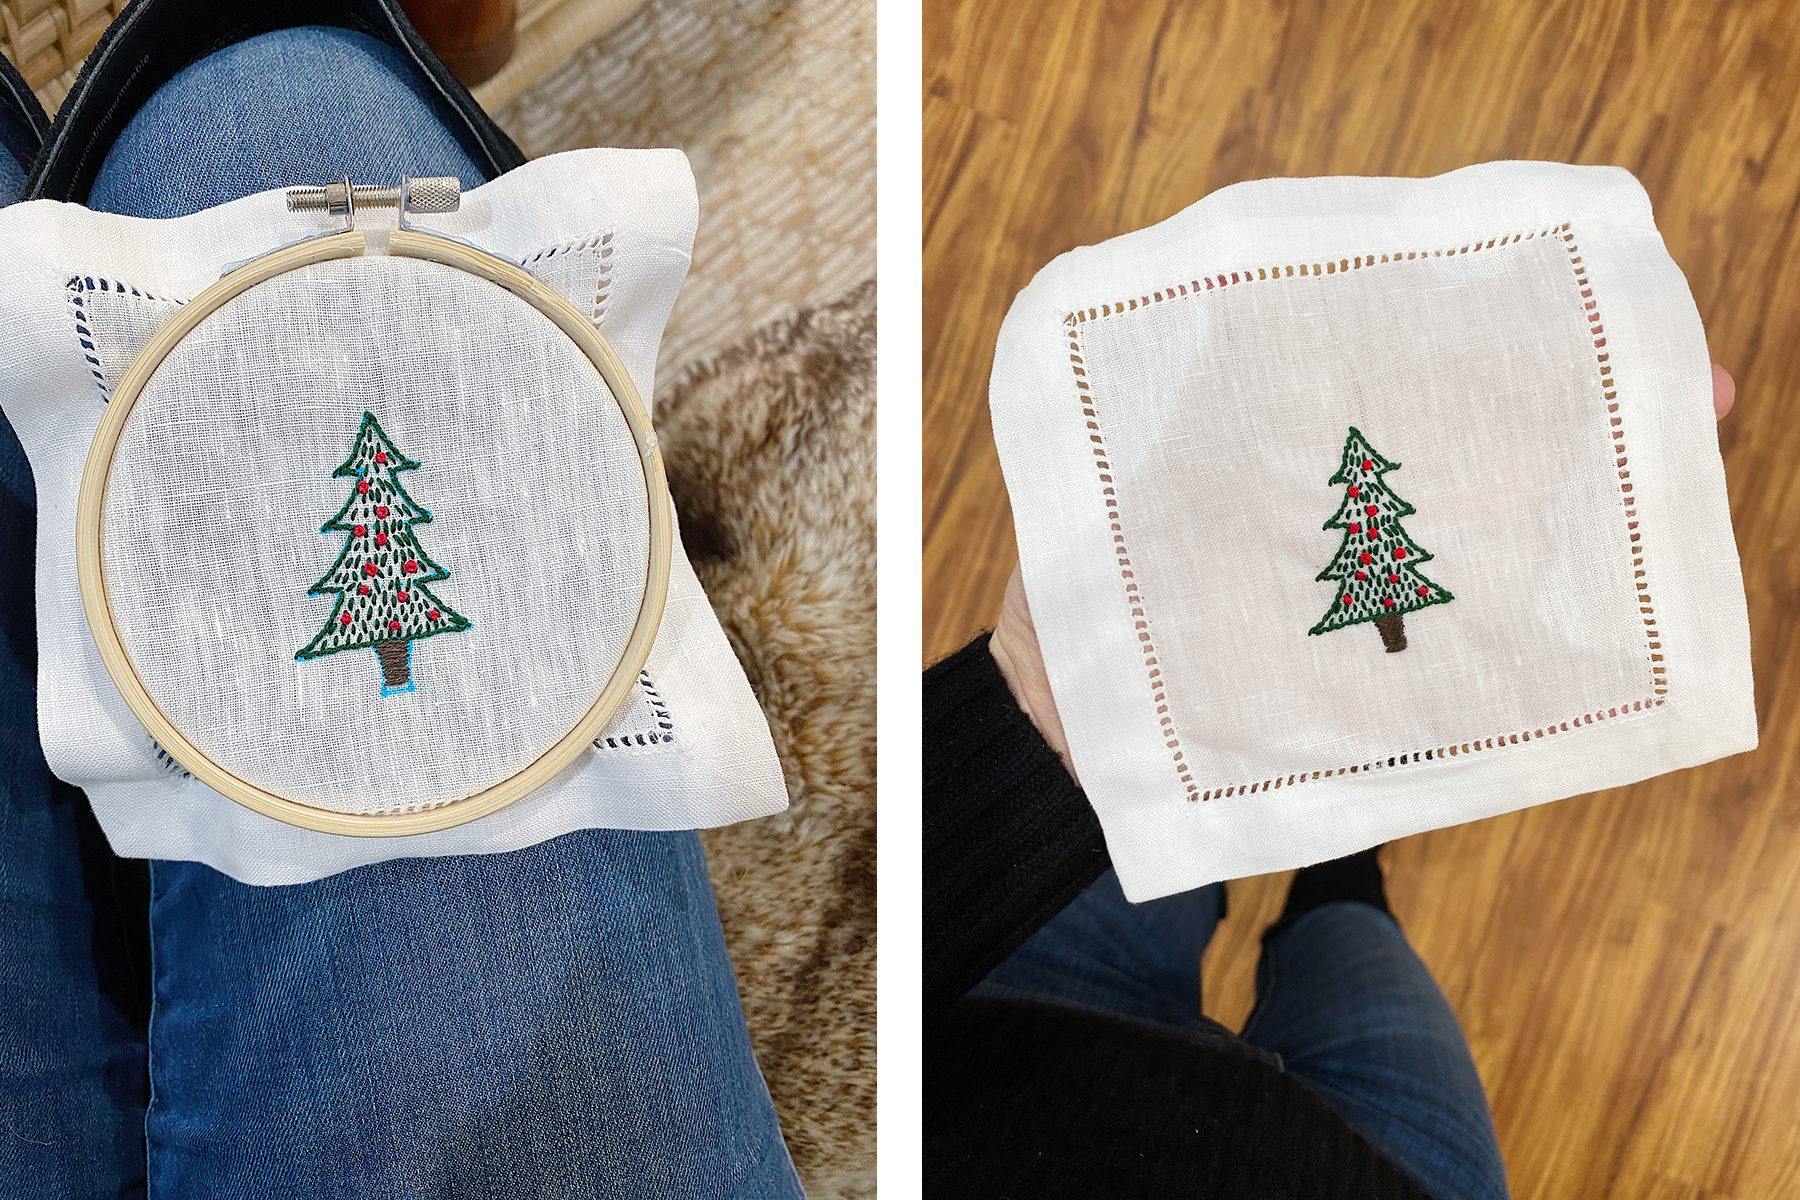
Pop your napkin into the hoop. The napkin is 6″x6″ and a 4″x4″ hoop is the perfect size for the design. For more delicate stitches, split the floss into two pieces (with three strands each) and work with one of the halves at a time.
I outlined the tree with a stem stitch and then did tiny stitches throughout the tree to resemble needles. I used a satin stitch to finish off the trunk of the tree. And used French knots with red thread as my ornaments!
I got a LOT of questions about how long each one takes. To be honest, it’s kind of like asking someone how long it takes to run. There are lots of factors that have to be accounted for (how far are you running, how fast do you run, is the trail flat or is there an incline, etc.). It’s the same for embroidery. These designs are pretty tiny but they still took at least an hour for me to do each one. Especially since I’m just getting back into the hang of it. The more complicated the design, the trickier the sitch, and the bigger the surface area, the longer it will take. I’ve been using it as an excuse to “splurge” on watching television to be honest. (How cute is Teddy by the way?)
THE FINAL STEPS
Once you’re done stitching, remove the embroidery hoop, you can wet the napkin to remove the marker marks and lay flat to dry.
As great as it’ll look when you’re done, I can’t recommend ironing with starch enough. It takes the napkin from good to GREAT. I almost skipped this step but, wow, it makes a HUGE difference.
I’m also going to stock up on a few hand towels as well. I LOVE that if I need a hostess gift, I can personalize something at the drop of a hat. It’s a win/win too because it’s something I truly enjoy!!
Make Your Own


Thank you for sharing carly. I’m excited to start stitching
These are so pretty, thanks for sharing this DIY, Carly!
I hope you have a great Thursday!
Michael
https://www.mileinmyglasses.com
So proud of your crafting!!
This is such a creative and unique gift. I’m sure your friends will love them. Have a great day!
http://www.elspethsdaybyday.com
These turned out amazing! I’ve cross stitched before but never tried embroidery. Can’t wait to try this! Did you use the starch/iron before you stitched or after it dried?
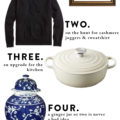
Ok these are TOO cute!! I love the idea of a handmade gift! These would be adorable in frames to use as holiday decorations, too! A framed one on your bar cart would add some easy festiveness to dress it up for the season! Also that monogrammed note pad is amazing! Thanks for sharing this!! I am definitely looking into it!
xx Libby
I was about to say that these make the CUTEST hostess gift!! They turned out so freaking adorable
chevrons & éclairs
Thank you!! I was one of the people on instagram asking for your tutorial. I purchased the materials and I’m looking forward to starting my own project this weekend 🙂
Wow! Thanks so much for this tutorial with the YT video links! I’ve been wanting to learn embroidery but couldn’t find anyone to teach me. Thanks so much for the post!
You now have me in a rabbit hole with embroidery videos!! This is definitely my new hobby I’ll be taking on in 2020!
etiquette tip- your wine glass is overfilled. 🥂
It’s a la croix 🤣🤣🤣
Phew! Love La Croix! My apologies for acting like Emily Post!
LOVE!!!!!
These turned out beautifully! The recipients are going to be so thrilled to know you made these by hand too. Great instructive post!
-Mia
miaatthemoment.com
Oh my goodness! I love this idea for gifts. Thank you Carly for inspiring and encouraging us to get into this, it seems like a relaxing hobby.
They look great! You’ve inspired my sister and I to try embroidery.
My extended family decided were only giving homemade Christmas gifts this year, thank you for the inspiration!
Check out the Montana themed napkins I embroidered… https://elizabethstrods.blogspot.com/2019/12/homemade-christmas.html
Those are adorable thank you for the ideas and instructions.
Thank you so much for sharing, Carly!! Are canvases for napkins available to buy? Not confident in my drawing skills haha.
Perfect timing for this post! Appreciating the time and effort you put into your website and in-depth information you offer. Such a great embroidery project. Worth sharing! Please do continue sharing updates! Thanks a lot!