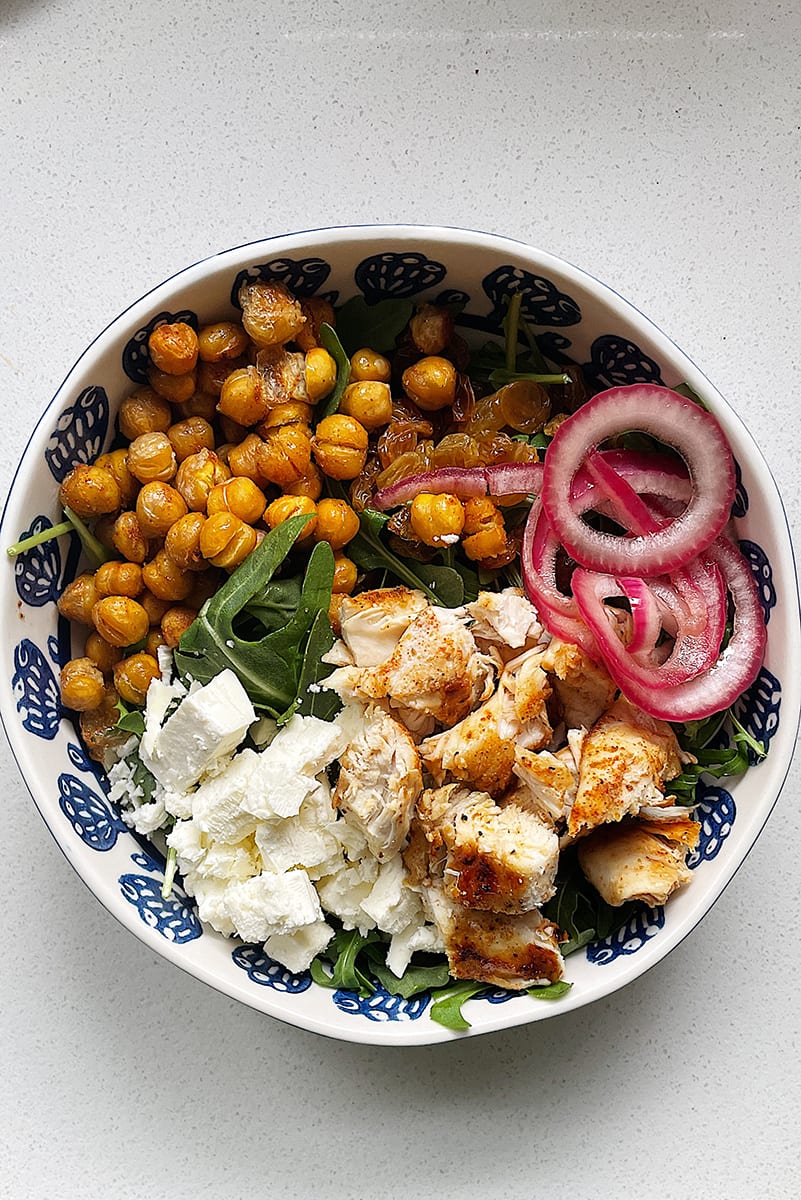
I think starting fresh with a new year inspired me to eat better lunches. I totally got lazy during this pandemic and just started doing English muffins and eggs almost every day… or leftovers from dinner the night before. So I kind of started to get sick of it honestly.
This chicken arugula salad couldn’t be easier to make and works well for meal prepping if you want to get everything ready on one day to have for a few days in a row. I shared it on Instagram and got a ton of questions. I didn’t follow a specific recipe and it’s one of those “bowls” that you can tweak to a) your preferences and b) whatever you have in your fridge/pantry.
EASY CHICKEN ARUGULA SALAD
Here’s what’s in mine:
– Arugula (tossed in a touch of olive oil and a drizzle of fresh lemon juice)
– Grilled chicken
– Feta
– Roasted chickpeas
– Golden raisons
– Pickled Onion
– Garlic aioli (or your dressing of choice)
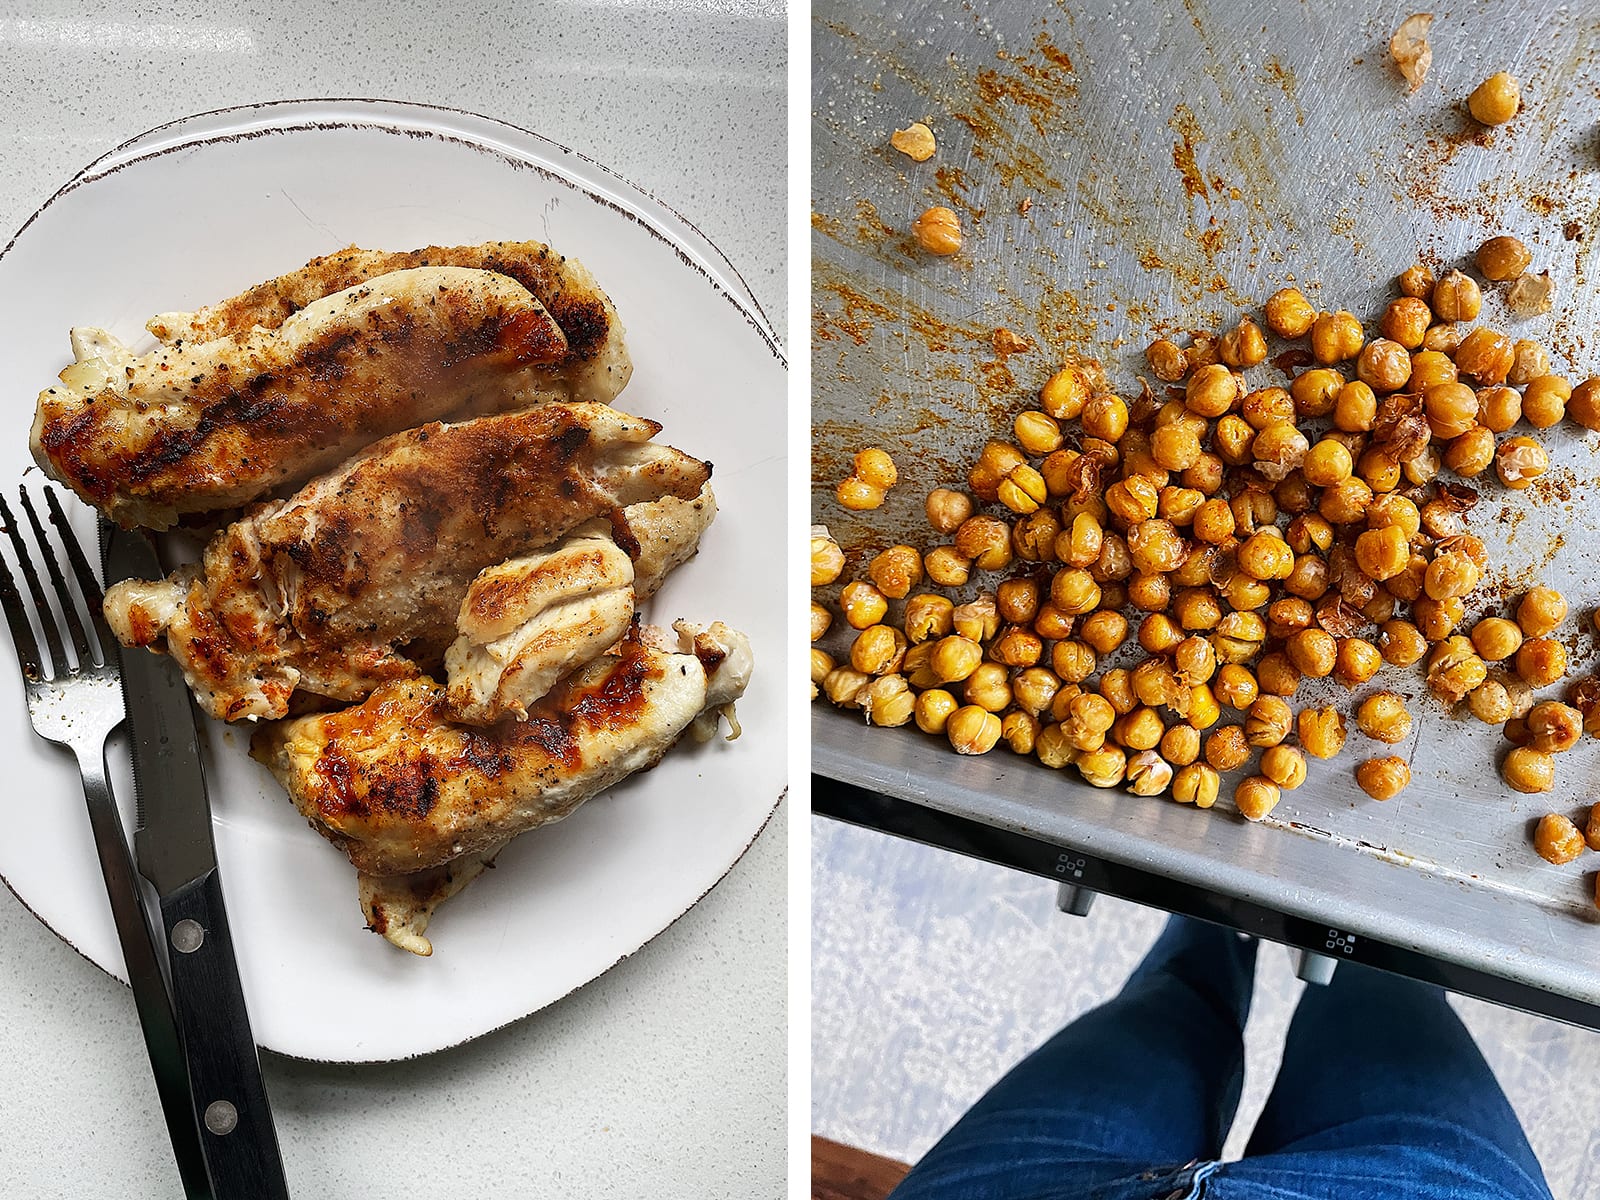
For the grilled chicken:
I buy organic chicken breast. Pat dry and season both sides with seasoning of your choice. I use salt, pepper, cumin, paprika, and onion powder. You can bake or grill or pan sear. I used a grill pan and made a big batch of grilled chicken to use for future meals too. Lightly oil your grill pan and let it get nice and hot. Cook the chicken for 5-6 minutes on each side, or until the chicken is fully cooked. (Internal temp should be at least 165F.)
For the pickled onions:
Mike taught me how to pickle onions and it’s a game changer. Thinly slice red onion. In a small sauce pan, add one cup of water, one cup of apple cider vinegar, and two tablespoons of sugar. Bring to a boil. Put the sliced onions into a bowl and pour the liquid on top. Pop the bowl into the fridge for about 30 minutes. They’re ready!
For the roasted chickpeas:
Drain, rinse, and completely dry a can of chickpeas. Pour the chickpeas onto a roasting pan. (You can use parchment paper for easy clean up!) Drizzle with olive oil and salt. Then spread the chickpeas out so they roast and don’t steam. Roast for 20-30 minutes, tossing the chickpeas every 10 minutes at 425 degrees. They should get crunchy and dry! While hot, toss with seasonings of your choice– I like to use paprika!


Thanks. We all need inspiration for something new to eat. So simple and delicious. Hope to see more posts like these. Creative, simple, cheap, healthy meals are a good thing. Besides what you save by eating healthy and cheap makes it so much easier to stop by that coffee store or donut shop when your day just needs a little comfort. We all need comfort right now.
Trying new recipes is somethings I was do more of in the new year! Thanks for sharing!
http://www.elspethsdaybyday.com
This look delicious and super easy to make
I’m so glad you shared this!! I saw it on Instagram and promptly made it the next day… and the next! It was exactly what I was craving and so simple, versatile, and healthy. I made caramelized onions instead of pickled and added blueberries since we had those on hand. Thank you for the inspiration!!
This looks delicious! I will have to try this!
I saw your post this morning as I woke up and placed an instacart order. I’m just finishing off the final bites, so yummy! Please more posts like this – I agree with Ann.
This looks so good! How do you make the garlic aioli dressing?
These sort of bowls are one of my Mt favourite meals! I love that you can just throw whatever in. I made one the other day with coconut rice, spicy roasted chickpeas, and a whole bunch of vegetables. I don’t know what I did wrong but the chickpeas went very, um, explode-y in the oven (I often roast chickpeas and this has never happened before!) It’s funny but only because I didn’t get hurt. Anyway they came out great, if a bit messier than usual, but cleanup was no joke. This reminds me to google and see if I can work out why!
Do you have to store the chickpeas in anything to keep them crunchy? I feel like I once read you need an aluminum container but it’s escaping me now…
I just retoast them on a pan but they are best right out of the oven!
Omg this looks sooooooo good. It’s the type of thing I would inhale after a workout lol
This looks so good!! Will definitely be trying this week!