
Want to get your monogram like how I described this morning and you’re still not sure how to do it?

Let’s first use the example of the downloadable monogram from For Chic’s Sake! If you’re on a Mac, you might have to download Adobe Reader. You’re going to want to download the file as per the instructions on For Chic’s Sake. Then open the file in Adobe Reader. To create your monogram, you simply type your initials. (Lowercase first, Uppercase last, and Lowercase middle.)
Typically you would simply print that out and have yourself a cute printable! But you can take it one step further to do some fun things with it.

Screen shot the monogram. (On Macs that command+shift+4.)
Open the file in Photoshop.

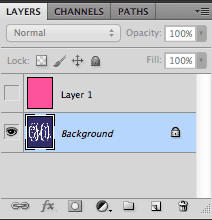
Create a new layer and use the photobucket to fill the layer with the color you want. Hmm… I’m thinking that a pink monogram would be cute! Make the color layer invisible and reselect the monogram screenshot.
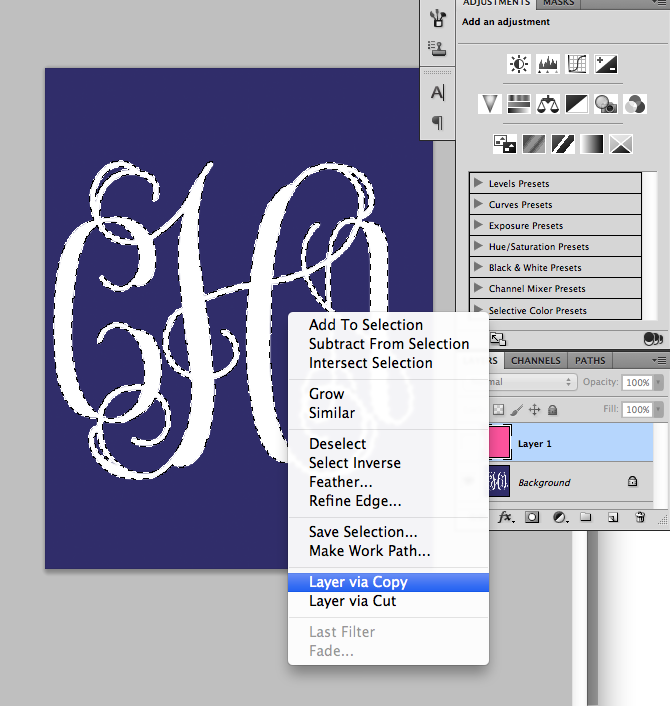
Using the Magic Wand Tool, select the white text.

Play around with the tolerance level until you get the monogram to select with nice clean, sharp edges. Once you have the selection, select the color layer. Right click on the monogram and select “layer via copy.”
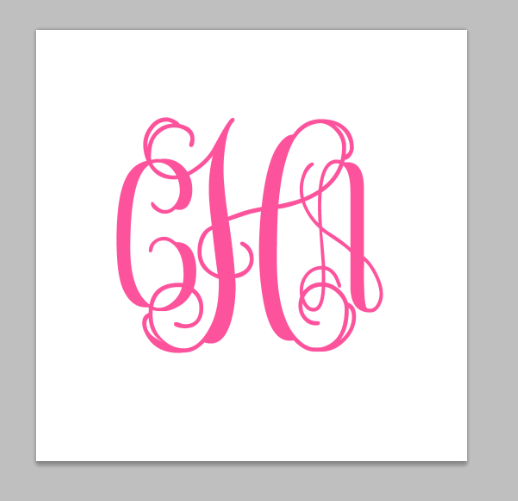
When you do that, you’ll make the pink monogram! Select that layer and drag it to the layer to the file you need it in and bing bang boom!
If you want to do another monogram from something you already own, it’s pretty simple depending on the lines involved. For example, when I did the monogram from my bedding…. I took a super low quality quick photograph with my iPhone. I emailed it to myself and then opened the photo in Photoshop.
I straightened it to make sure it was aligned well.
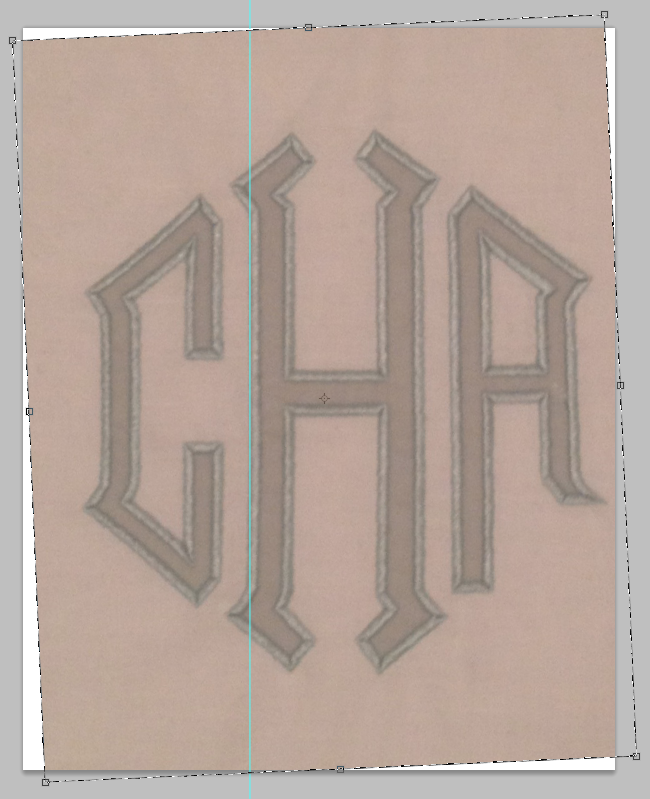
I made a new layer and filled it in with the same pink color as above. Again, I made the layer invisible and reselected the photographed monogram layer.
And then I used the regular Polygonal Lasso Tool to trace the selection. As long as your lasso is set to “add to selection,” you can do all three letters at once!!
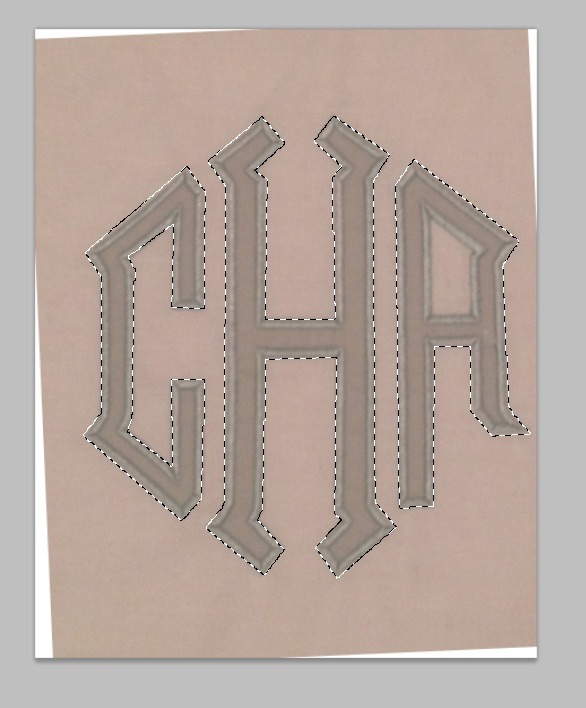
Once the three letters are selected, select the pink layer. Right click, and copy into new layer. Note, I have to cut out the middle of the “A” still.
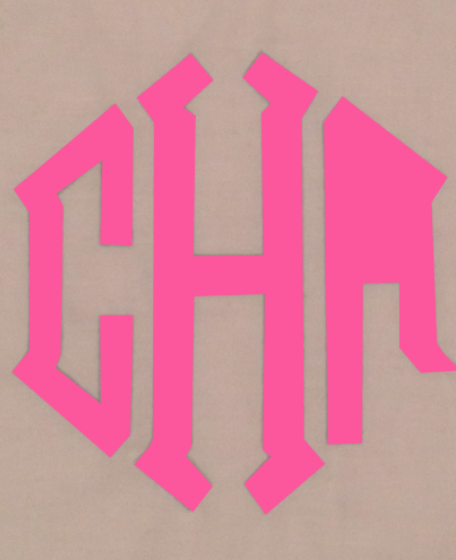
Make the layer invisible again and reselect the photo layer. Do the same tracing with the Polygonal Lasso Tool of the inside of your letters. Then select the pink monogram layer and click “delete.”
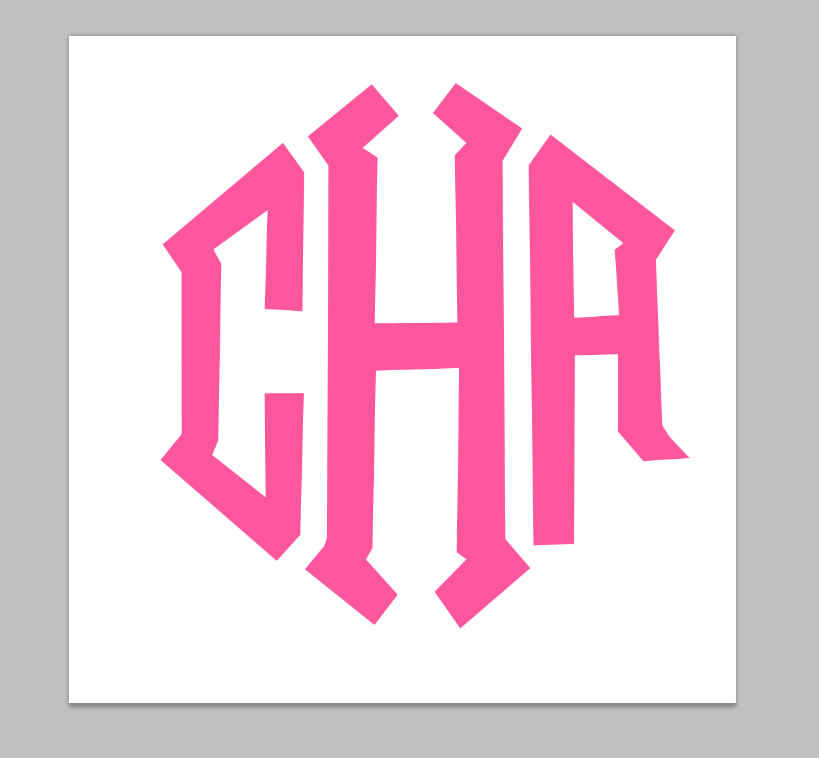
And fun monogram!!!
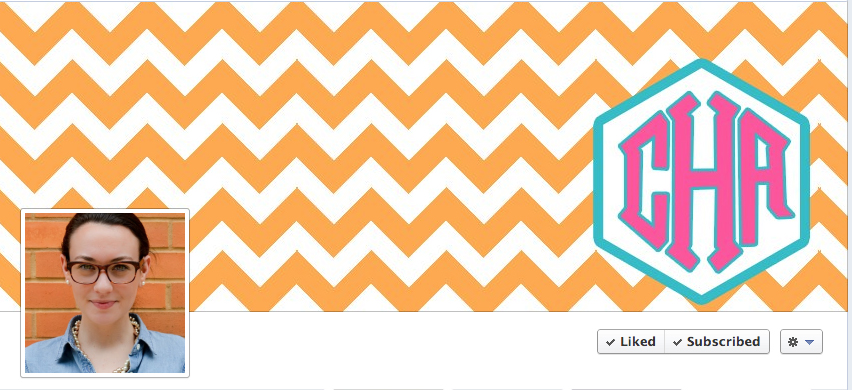
You can make cute background like chevron (see my tutorial on how to make chevron stripes in Photoshop) and make…
Facebook Cover Photos
Desktop Backgrounds
Personalized Stationery
iPhone Backgrounds
… really anything.


Carly! I think you forgot something:
It is command+shift+4 (I believe you forgot a letter in there!)!!
I love your blog, it is my favorite!!!!
Samantha
http://www.quitesmashinglove.blogspot.com
Just wondering if there was a specific version of photoshop that you use? i've never used it before
I literally used for chic sakes' monogram just last night to make a monogrammed background for my iphone! So helpful!
I love Photoshop! Handiest tool ever – especially for bloggers!
katiesbliss.com
Cute! Love the header you created for FB!
xx Allie
http://a-songtopassthetime.blogspot.com
I'm massively impressed with your PhotoShop skills.
if I don't have photoshop, is there any other methods I could use? thanks! xo